
---
Brackets is an open source code editor intended for front-end developers and web designers. It’s clean and simple, yet powerful. One of its best features is that it’s possible for you to design in the browser, meaning you can see your code change in the browser as you’re typing. No saving necessary. It does, however, require the use of Chrome for live HTML Development.
1) Download Brackets Software
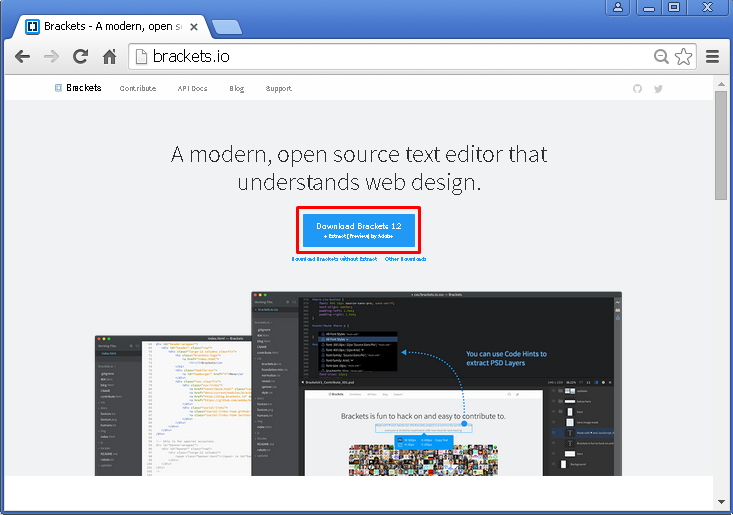
1.1) Browse official page, http://brackets.io/
or,
1.2) Download a portable version from here,http://sourceforge.net/projects/bracketsportable/ , or here https://drive.google.com/file/d/0BwDdZQLQH_ALbVZtSmF1b0xjaGM/view?usp=sharing .
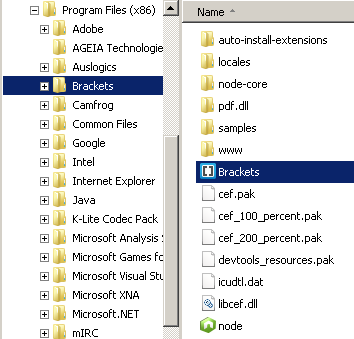
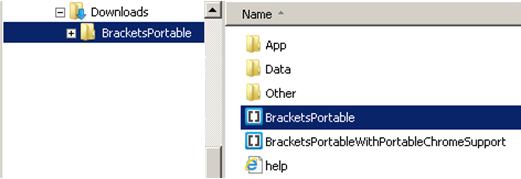
2) Find the installed program and run
2.1) Installed version.
2.2) Portable version.
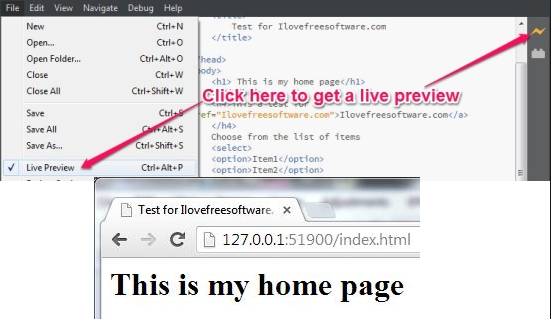
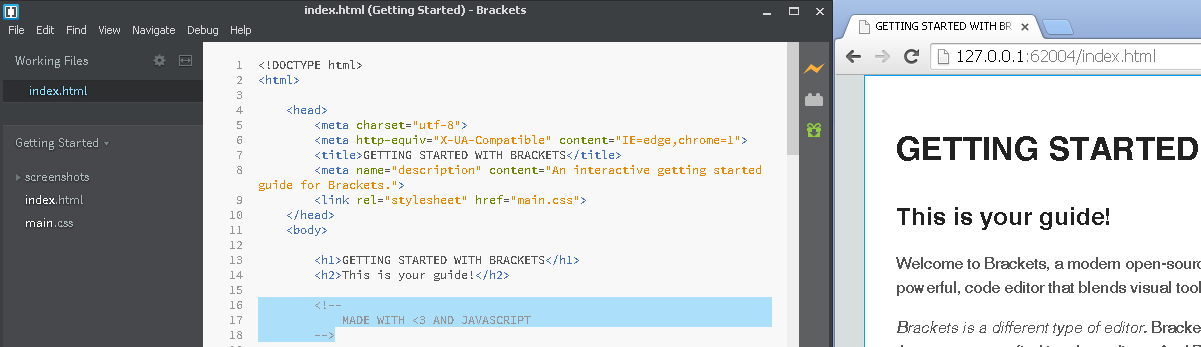
3) Main Application Window
3.1) The following is a screenshot of a portable version.
Notice the lightning button.

3.2) Click the lightning button.
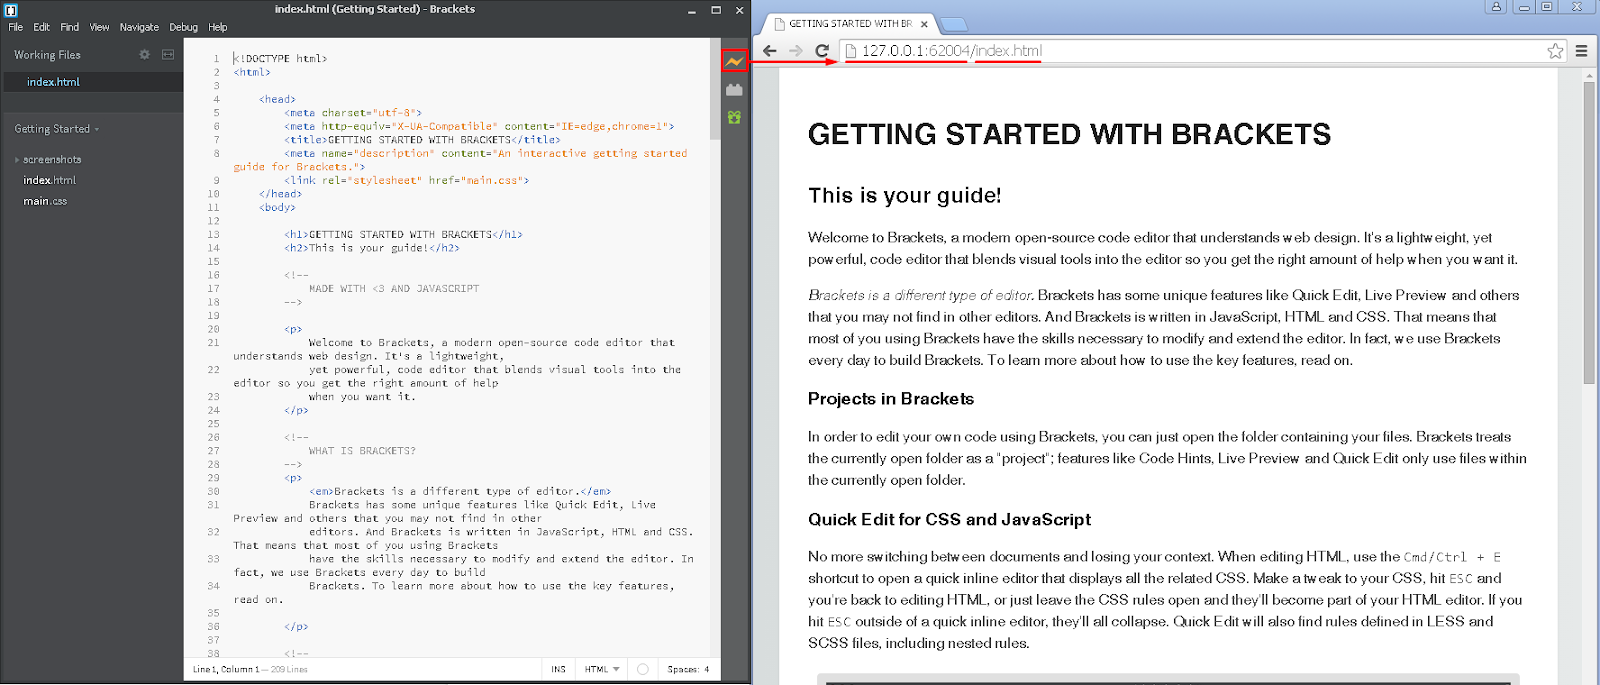
Brackets will automatically trigger the Chrome Web Browser to display the html file that it currently edits (index.html) as a sub path of localhost domain (127.0.0.1)
4) Start learning HTML elements
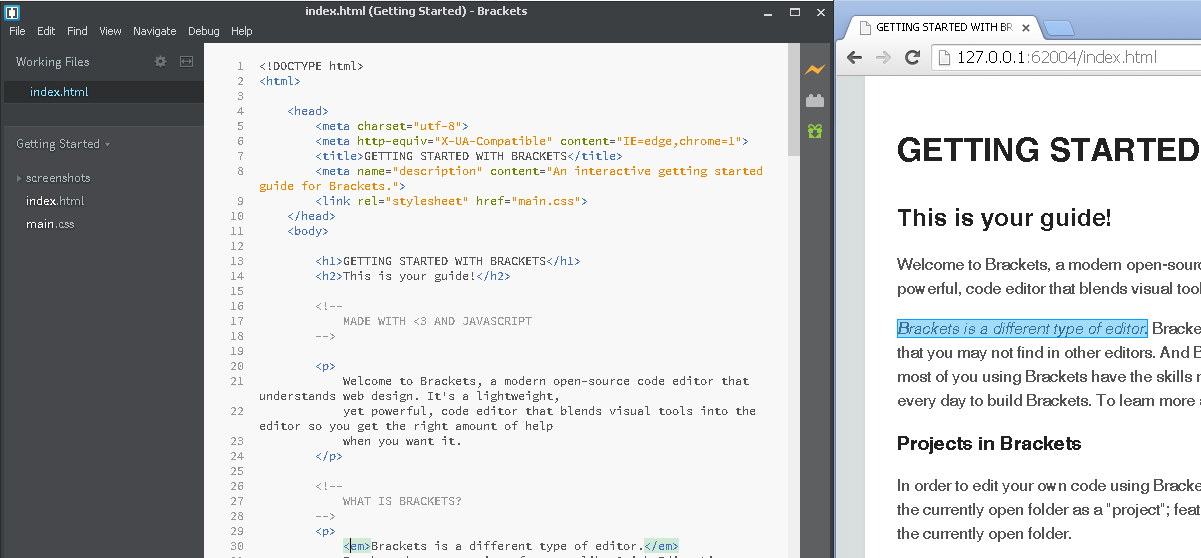
4.1) <html>
When you click <html> tag, the whole page is highlighted.
<html> is the container tag for this page.

4.2) <head>
When you click <head> tag, none is selected.
<head> is the container tag for informations for the web browser.

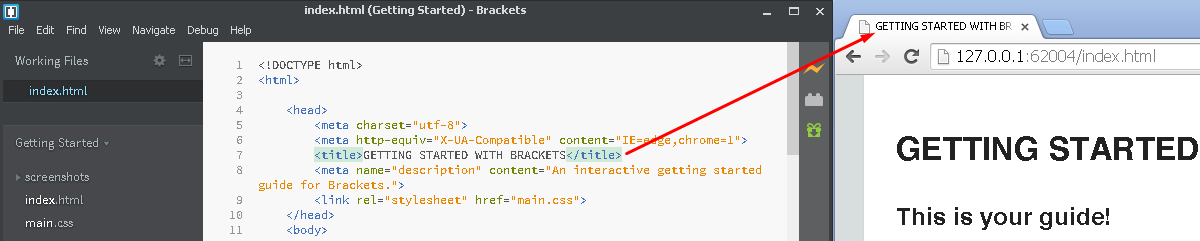
4.3) <title>
One of the uses of <head> is to contain the <title> tag which gives the title to the browser window.
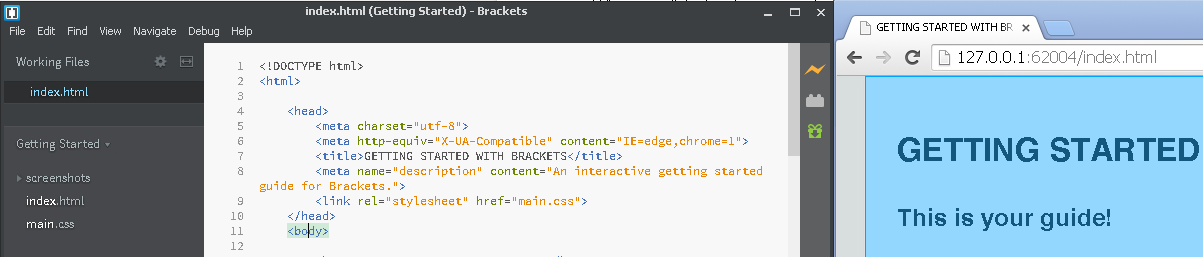
4.4) <body>
When you click <body>, the whole page is highlighted again.
This effect looks similar to clicking the <html> tag because <body> is a child to <html> tag.
Subsequently, the child tags of <body> will affect some parts of the web page.
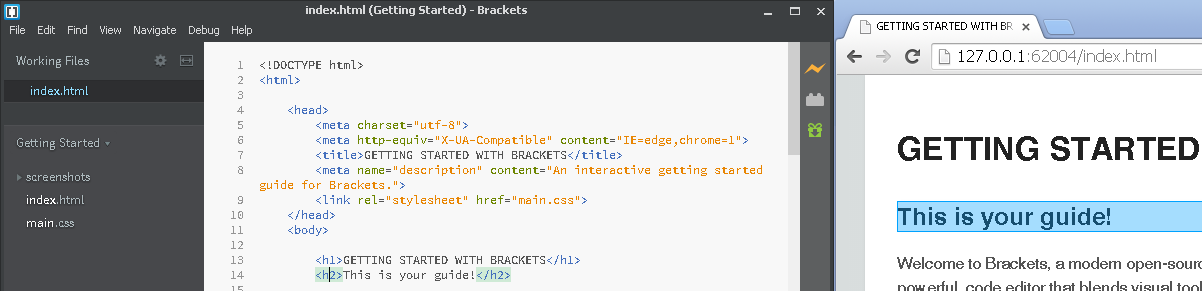
4.5) <h1>
Heading Type 1.

4.6) <h2>
Heading Type 2. Slightly smaller than Type 1.
4.7) <!-- -->
Comment tag.
It contains codes that are not intended to be interpreted as html elements.
4.8) <p>
Paragraph.

4.9) <i>
Emphasis.
It appears as italicised texts.
4.10) <img>
Image.

4.11) <h3>
Heading Type 3.

4.12) <samp>
Sample.
None is highlighted.

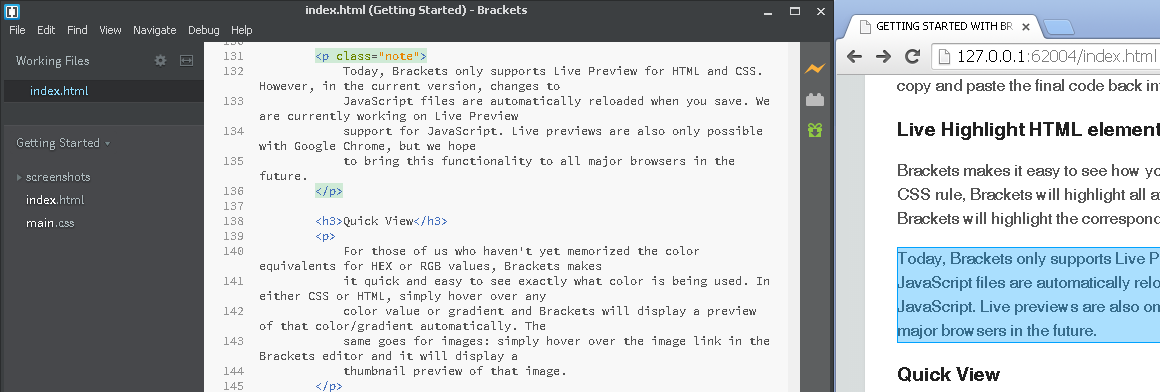
4.13) <p class>
Paragraph element with a class name “note”.
The class “note” may change the way a paragraph to be displayed.
4.14) <ul>
Unordered List.

4.15) <li>
List Item.
4.16) <a href=”...”>
Anchor element with a hyperlink attribute.

5) Live editing
Try changing the values in the tag and see the real time changes in the web browser.


0 Comments